Notice
These documents are currently work in progress and describe a product currently in beta testing.
Getting Started
What is GitPushLive?
GitPushLive is a control panel to help you deploy your websites to your servers using a simple git push command.
We do this by providing tools, so you can setup servers with various cloud providers. Once your server is created we install
A User account to allow you to login over ssh
A default firewall configuration to allow websites hosting, but keep other traffic out
Automated security updates, to keep your server secure
Disable password logins, to prevent brute force attacks against ssh
Install Dokku to enable you to deploy your code with git
Install your chosen selection of Dokku plugins, to enable you to deploy various databases
Our own gitPushLive Dokku plugin to help monitor your server and enable easy backup configuration
Deploying Apps
Things you’ll need
A GitPushLive Account - not got one ? - signup here
An SSH Key - not got one ? - follow instructions here
An account with one of our supported providers - more info here
A domain name to use with your servers - more info here
1. Setup a Provider
For Akamai (Linode) and Digital Ocean we use oAuth, so you can add a connection to these providers with a single click. For other providers see instructions here
To add a provider, go to your dashboard, click Add Your First Provider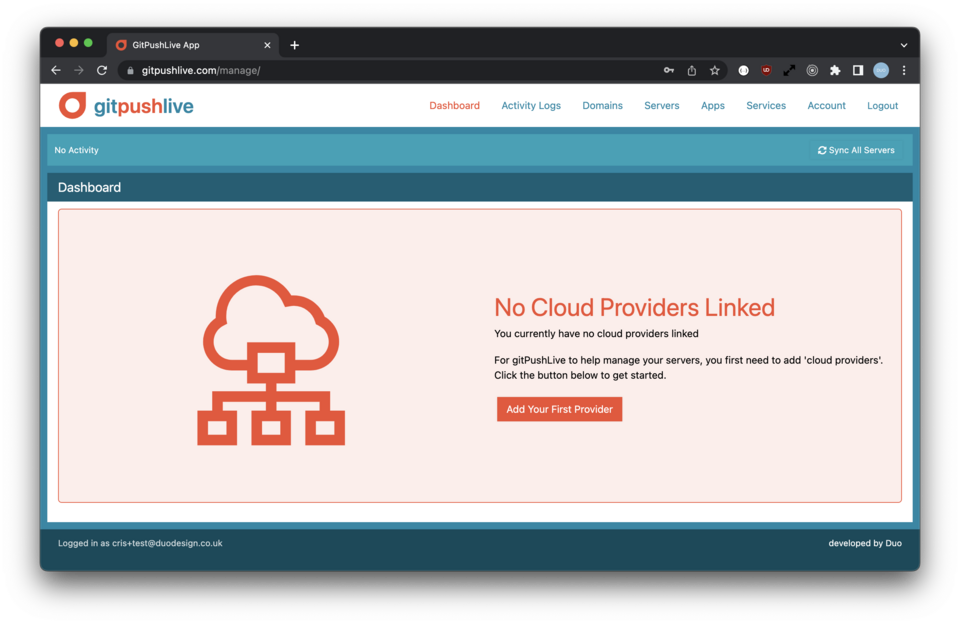
Then fill out the details, and for Akamai and Digital Ocean click Authenticate with Provider. For other providers drop in your api key and click save.
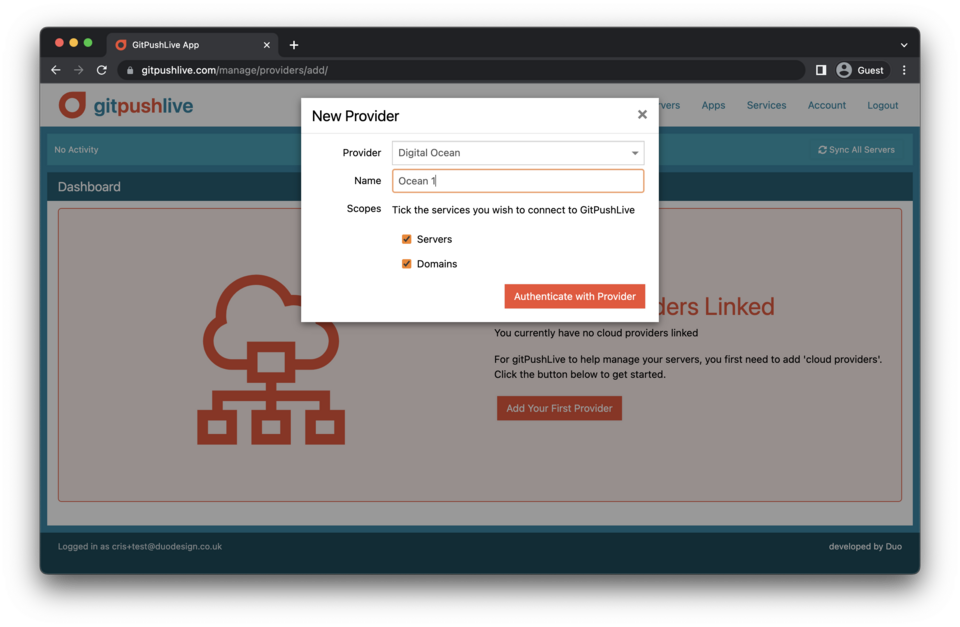
You can repeat the above steps to link and sync as many providers as you wish.
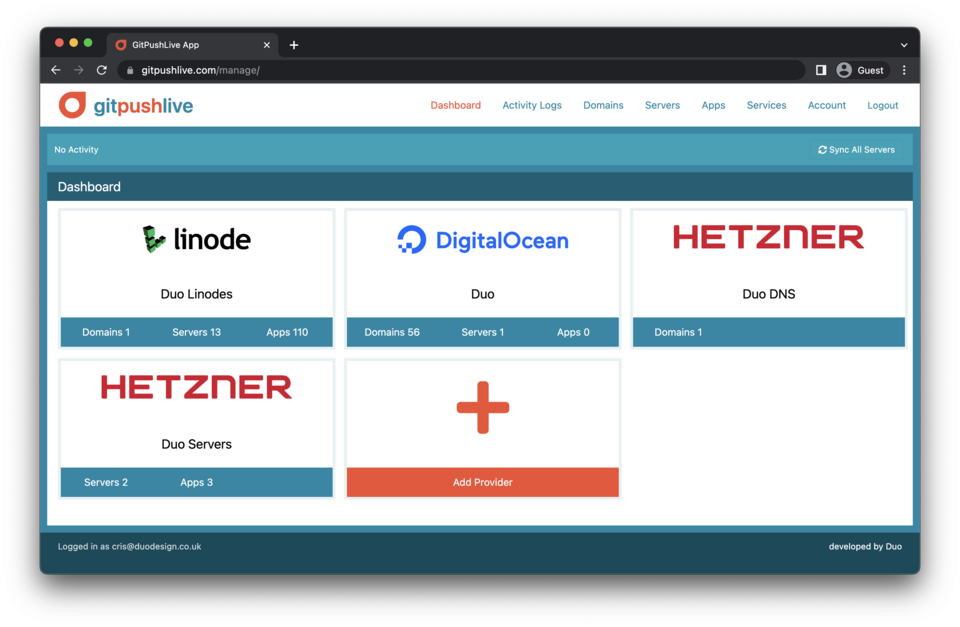
Once linked, click “sync all servers” top right to sync data between your providers and your GitPushLive account.
2. Add your SSH name and public key
Before adding your first server we need your public ssh key, we’ll add this to new servers to allow you to log in and run dokku commands from your terminal.
You can add your ssh name and key here
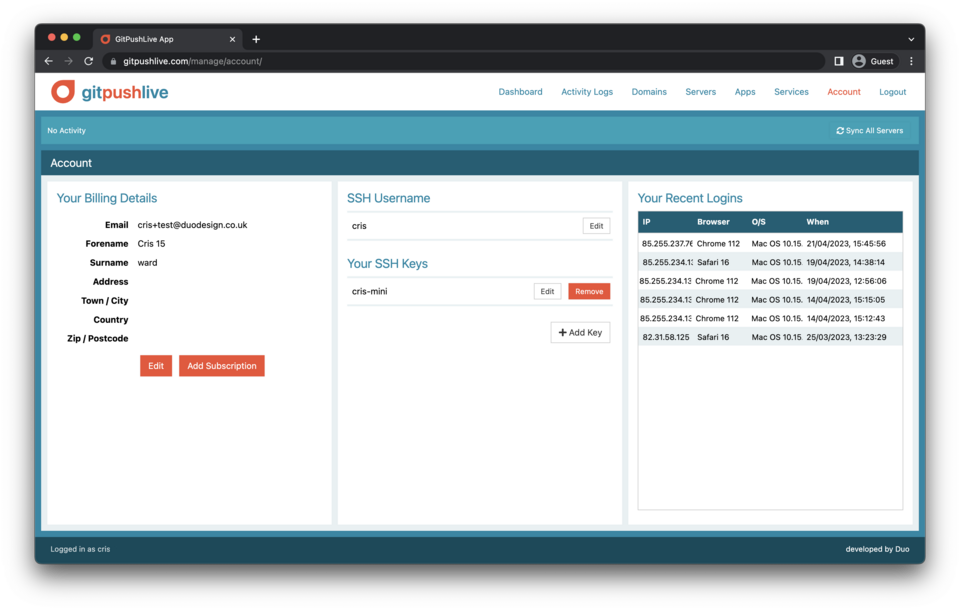
Ideally you’ll use the name you usually use on your computer for your ssh username, as this allows you to login without specifying a name on the command line. But if you’re going to be sharing the server with other users, you may want to choose something more unique to prevent name clashes.
Multiple public keys can be added per user, we’ll sync them all across to your servers when we set them up or you update your account.
3. Create Your Server
Once you have a provider and ssh username and public key added, you are ready to setup your first server. Go to the server panel here
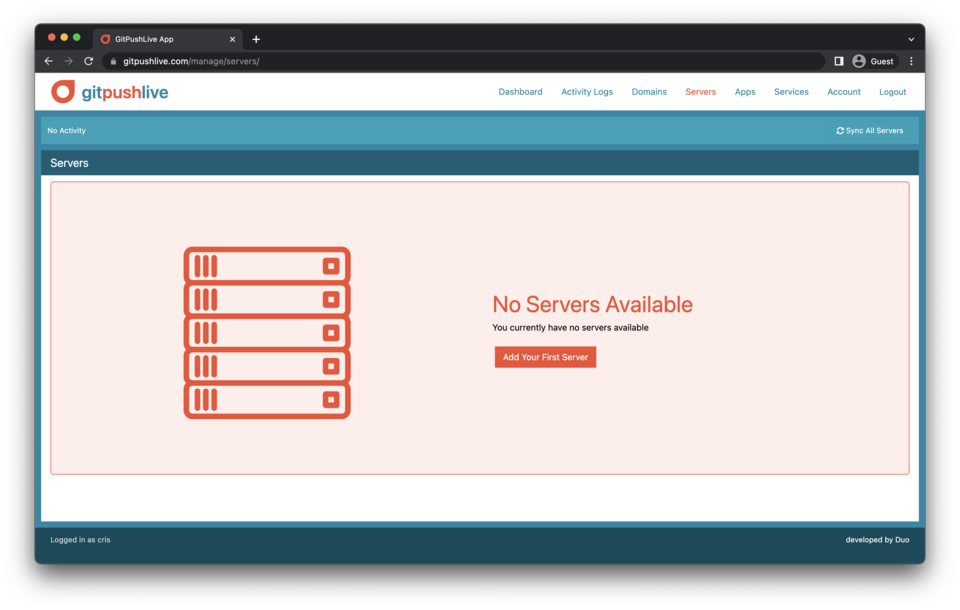 Click add your first server.
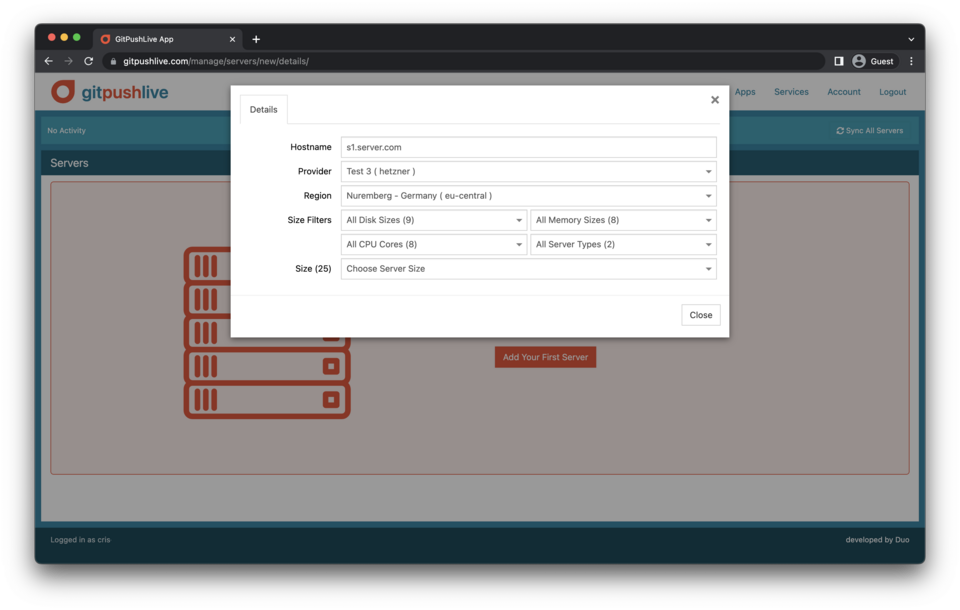 Once clicked fill out the details requested. You should ideally have a domain you can point at this server once setup. This domain will be the basis of your app domains eg yourapp.yourdomaim.com. Rather than buy a domain per server its much more economical to purchase a domain and point a subdomain at each server eg yourapp.server1.yourdomain.com. These domains will be how you access each of your apps before pointing the final production domain at them.
Depending on the providers you’ve added you’ll get different locations and configurations to choose from. We’ve added a set of size filters to help you find the configuration you’re after as many of the providers have lots of options.
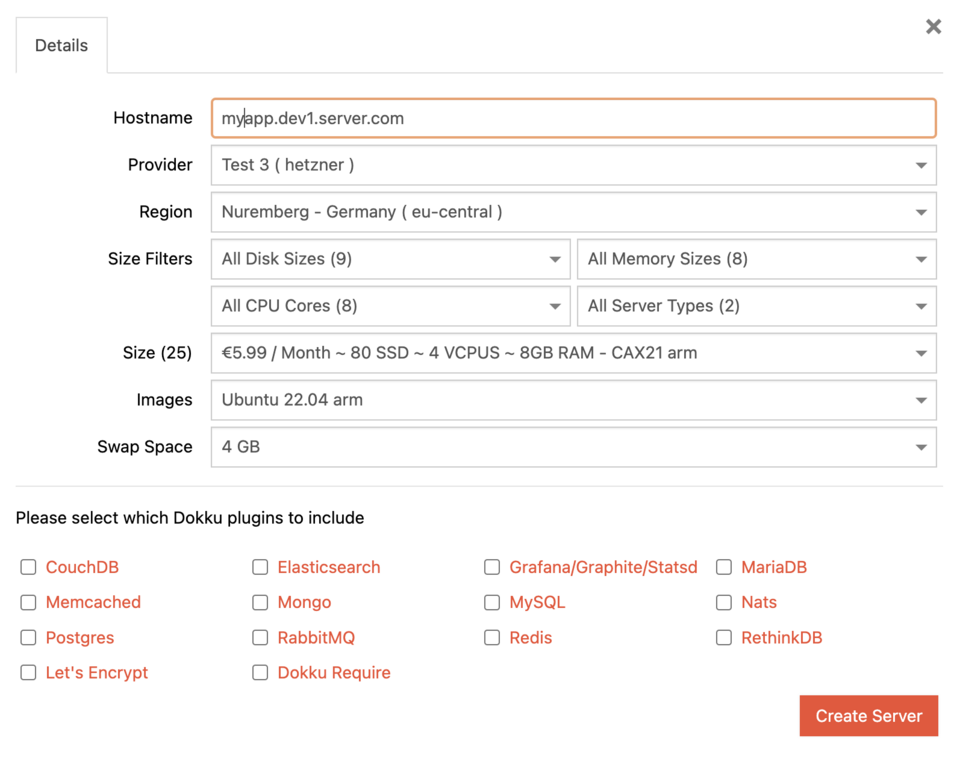
Once you’ve chosen the size, you should then choose which operating system and how much swap space to add (virtual memory). Finally we allow you to choose which dokku plugins to install. Each plugin in the list is linked to their github repos, so you can get a good idea of what they do and how to use them before you decide if you’d like to install them. You can add dokku plugins at any point in the future, so depending on the size of your server you may want to keep these to a minimum. Lets encrypt, for free https certificates, and a database you commonly use are probably a good starting point.
Once you click Create Server, the process should begin. First by contacting your provider and creating the server, then by installing the software and users linked to this server. The server should take around 6 - 15 minutes to complete depending network speeds, server speed and number of plugins chosen. We’ve included a progress bar to give you an indication of how long things will take. Your provider will charge you for any servers you add, as they would if you added them directly within their control panel.
4. Point a Domain at Your Server
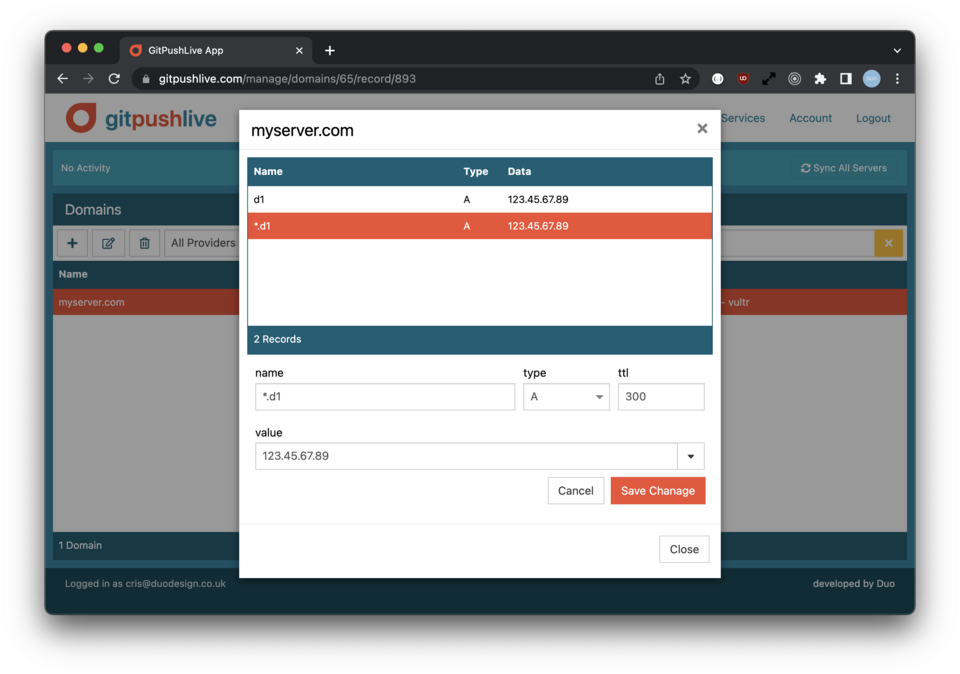
Once your server is created it will be assigned an ip address by the provider.
Using the domains section of GitPushLive, you can add an A Record for the server, and a wildcard A Record for the apps you’ll deploy.
For detailed instructions on doing this see domains section of our documentation.
5. Deploy an App
We have a number of tutorials we’re compiling in our blog section to give you examples of how to deploy apps in your language of choice.
See our the deploy tag in our blog for more details.